Sana
Ring Size Guide
Ring Size Guide
Instructions
1. Select a ring that fits the finger you wish to measure.
2. Using a ruler, measure the internal diameter of the ring in mm. Ensure your measurement starts at the 0mm mark for accuracy.
Use the size chart to determine your ring size.
Inside Diameter | Sizes | ||
---|---|---|---|
mm | Inches | Australia & UK | US & Canada |
14.36 | 0.565 | G | 3 3/8 |
14.45 | 0.569 | G 1/4 | 3 1/2 |
14.56 | 0.573 | G 1/2 | 3 5/8 |
14.65 | 0.577 | H | 3 3/4 |
14.86 | 0.585 | H 1/2 | 4 |
15.04 | 0.592 | I | 4 1/4 |
15.27 | 0.601 | I 1/2 | 4 1/2 |
15.40 | 0.606 | J | 4 5/8 |
15.53 | 0.611 | J 1/4 | 4 3/4 |
15.70 | 0.618 | J 1/2 | 5 |
15.80 | 0.622 | K | 5 1/8 |
15.90 | 0.626 | K 1/4 | 5 1/4 |
16.00 | 0.630 | K 1/2 | 5 3/8 |
16.10 | 0.634 | L | 5 1/2 |
16.30 | 0.642 | L 1/4 | 5 3/4 |
16.41 | 0.646 | L 1/2 | 5 7/8 |
16.51 | 0.650 | M | 6 |
16.71 | 0.658 | M 1/2 | 6 1/4 |
16.92 | 0.666 | N | 6 1/2 |
17.13 | 0.674 | N 1/2 | 6 3/4 |
17.35 | 0.683 | O | 7 |
17.45 | 0.687 | O 1/2 | 7 1/4 |
17.75 | 0.699 | P | 7 1/2 |
17.97 | 0.707 | P 1/2 | 7 3/4 |
18.19 | 0.716 | Q | 8 |
18.35 | 0.722 | Q 1/2 | 8 1/4 |
18.53 | 0.729 | Q 3/4 | 8 1/2 |
18.61 | 0.733 | R | 8 5/8 |
18.69 | 0.736 | R 1/4 | 8 3/4 |
18.80 | 0.740 | R 1/2 | 8 7/8 |
18.89 | 0.748 | R 3/4 | 9 |
19.10 | 0.752 | S | 9 1/8 |
19.22 | 0.757 | S 1/4 | 9 1/4 |
19.31 | 0.760 | S 1/2 | 9 3/8 |
19.41 | 0.764 | S 3/4 | 9 1/2 |
19.51 | 0.768 | T | 9 5/8 |
19.62 | 0.772 | T 1/4 | 9 3/4 |
19.84 | 0.781 | T 1/2 | 10 |
20.02 | 0.788 | U | 10 1/4 |
20.20 | 0.797 | U 1/2 | 10 1/2 |
20.32 | 0.800 | V | 10 5/8 |
20.44 | 0.805 | V 1/4 | 10 3/4 |
20.68 | 0.814 | V 1/2 | 11 |
20.76 | 0.817 | W | 11 1/8 |
20.85 | 0.821 | W 1/4 | 11 1/4 |
20.94 | 0.824 | W 1/2 | 11 3/8 |
21.08 | 0.830 | W 3/4 | 11 1/2 |
21.18 | 0.834 | X | 11 5/8 |
21.24 | 0.836 | X 1/4 | 11 3/4 |
21.30 | 0.839 | X 1/2 | 11 7/8 |
21.49 | 0.846 | Y | 12 |
21.69 | 0.854 | Y 1/2 | 12 1/4 |
21.89 | 0.862 | Z | 12 1/2 |
22.10 | 0.870 | Z +1/2 | 12 3/4 |
22.33 | 0.879 | Z+1 | 13 |
22.60 | 0.890 | Z+1.5 | 13.5 |
- Description
- Specifications
- Manufacture
The Sana Diamond Ring is a delicate yet captivating statement of refined beauty. This stunning ring features a round brilliant cut lab-grown diamond elegantly set in a classic claw setting. A thoughtfully curated arrangement of pear and round brilliant cut diamonds enhances the design, creating a unique and luminous silhouette. Crafted in 18ct gold, Sana is a modern masterpiece—perfect for those who appreciate elegance with a touch of individuality.
18ct Gold
Round Brilliant Cut Diamond
Side Diamonds:
2 x Pear Cut
4 x Pear Cut
6 x Round Brilliant Cut
4 x Round Brilliant Cut
Claw Set
Signature Engagement Rings are made to order and crafted in our on-site workshop using your choice of metal and gemstone.
As each piece is crafted especially for you, a manufacturing turnaround time of 5-6 weeks is required.
Crafted especially for you
Complete the look:
Sana Cluster Diamond Ring
Yellow Gold
$3,459.00
Out of stockTHE CLASS A EXPERIENCE
BESPOKE EXPERIENCE
Tailor our Signature designs to suit your preferences with our bespoke customisation services.
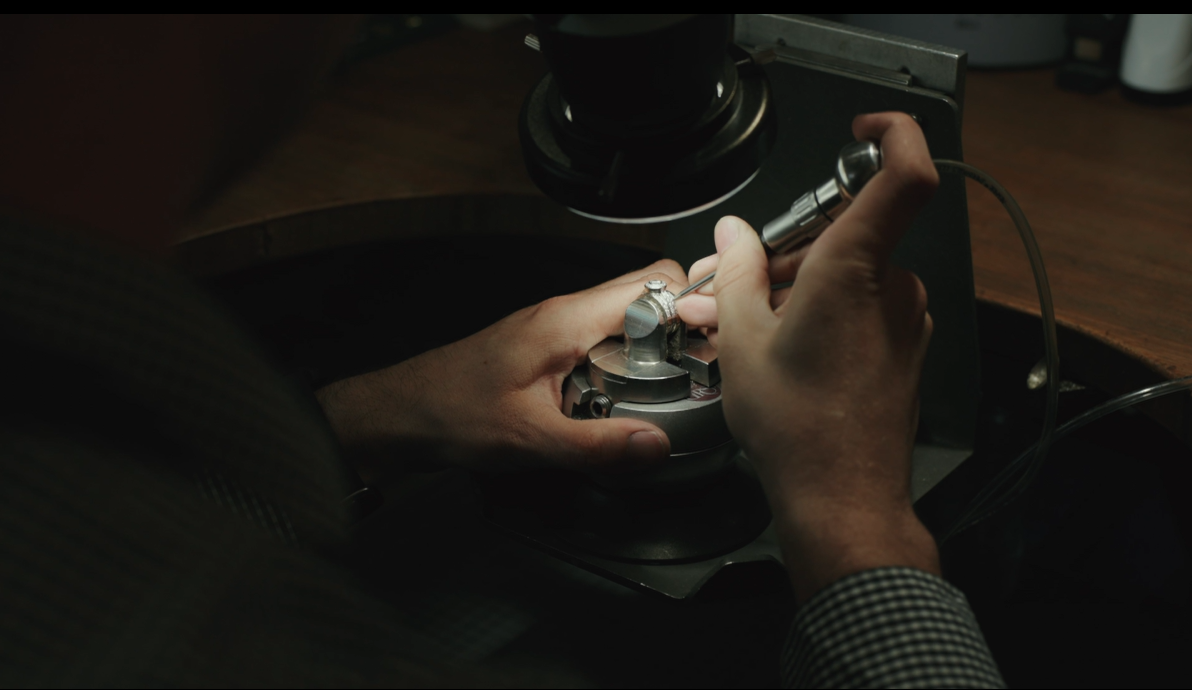
QUALITY CRAFTSMANSHIP
All Signature pieces are crafted in our on-site workshop by our talented team of jewellers.
LIFETIME WARRANTY
Experience peace of mind with our commitment to quality - all Class A pieces carry a lifetime warranty against faulty workmanship.
- RELATED PRODUCTS
- Recently viewed