Sana Cluster Diamond Ring
- Description
- Specifications
- Manufacture
The Sana Cluster Diamond Ring is a striking expression of elegance and brilliance. Designed to captivate, this unique piece features a carefully arranged cluster of pear and round brilliant cut diamonds, creating a dazzling display of light and movement. Crafted in 18ct yellow gold and set in classic claw settings, the Sana Cluster Ring offers a timeless yet contemporary aesthetic, perfect for those who love bold yet refined designs. Complimentary resizing.
Ready to ship.
Complimentary resize available:
If needed, please leave Ring Size in order notes and allow up to 4 days for resizing.
Lifetime Warranty
NCJV Certified Valuation Included
Ethically Sourced Diamonds
Complimentary Resizing
Over 50 Years of Quality Craftsmanship
Complimentary Cleaning for Life
Secure Express Shipping
THE CLASS A EXPERIENCE

BESPOKE EXPERIENCE
Tailor our Signature designs to suit your preferences with our bespoke customisation services.
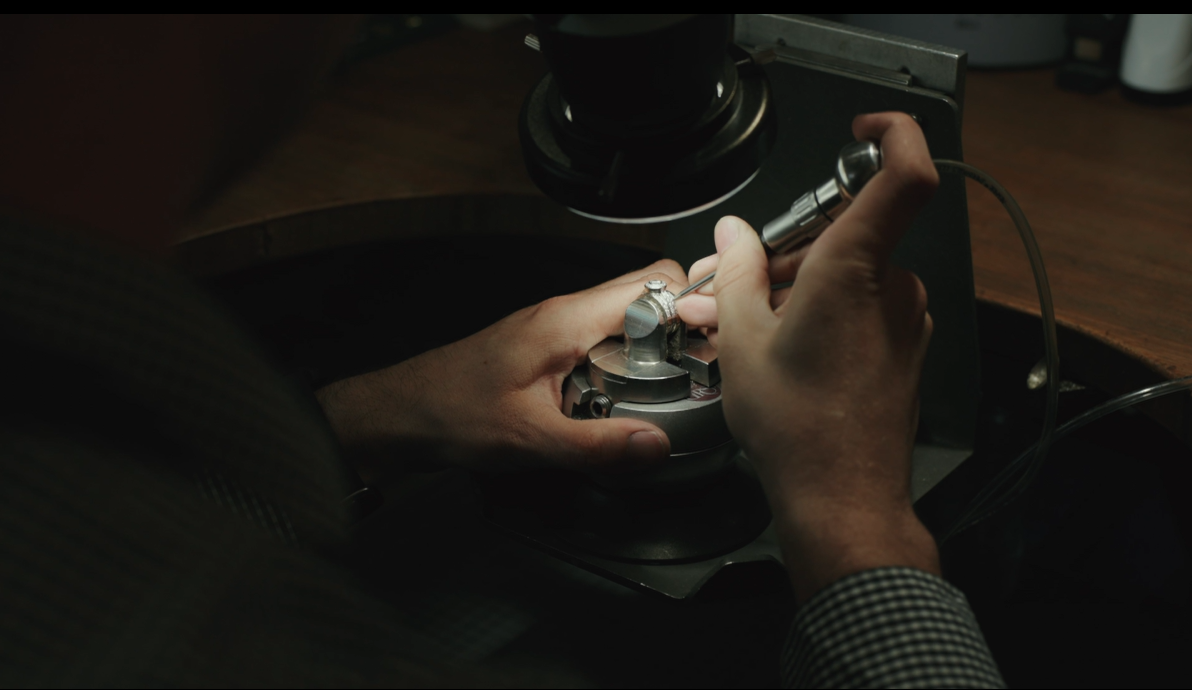
QUALITY CRAFTSMANSHIP
Our Signature Collection pieces are crafted in our on-site workshop by our talented team of jewellers.

LIFETIME WARRANTY
Experience peace of mind with our commitment to quality. All Class A pieces carry a lifetime warranty